Tilbage Bane 1, D kinesiske mur (Sumba, kom og vind).jpg

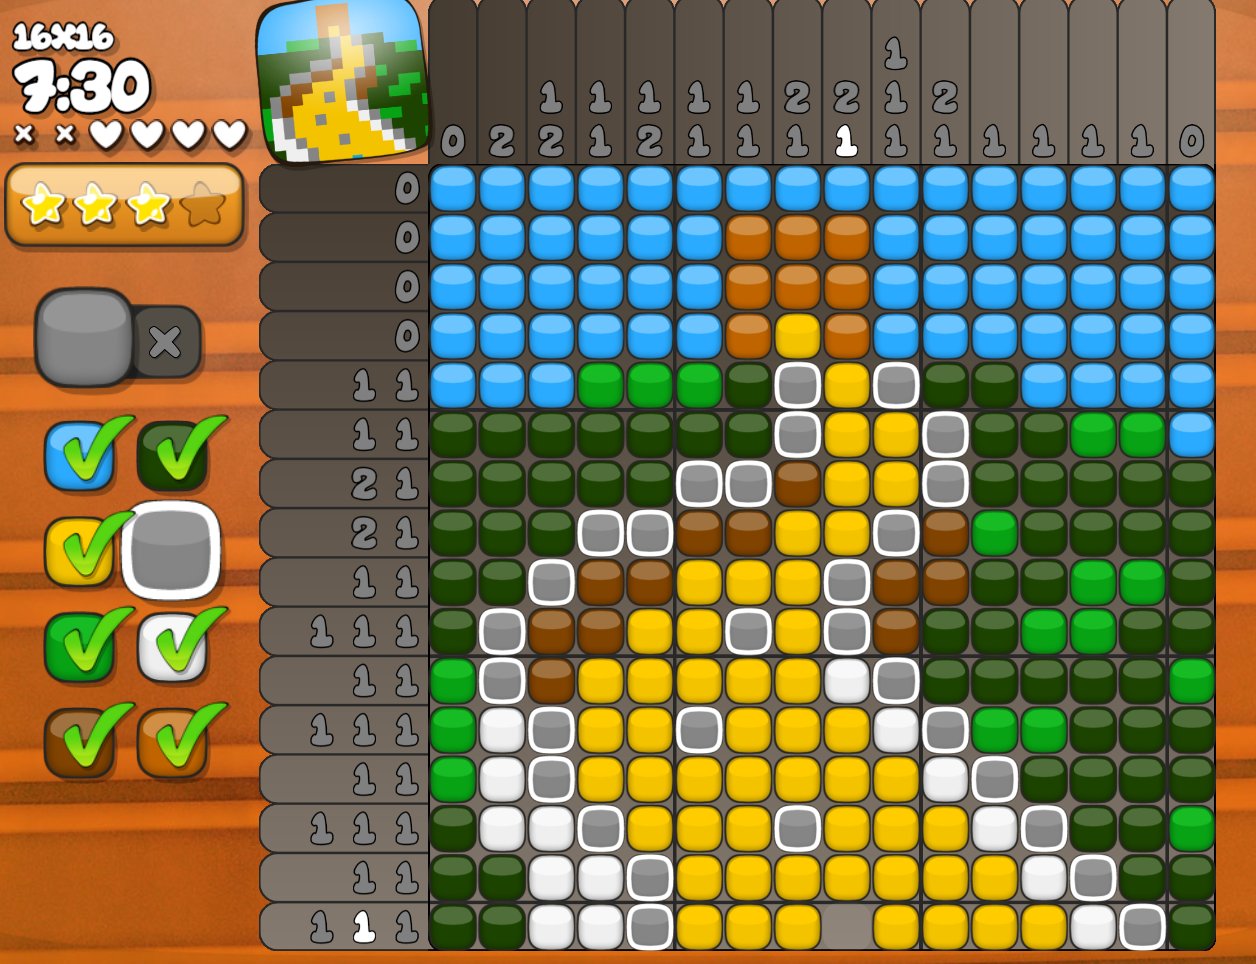
Bane 1, D kinesiske mur (Sumba, kom og vind).jpg